Set in Stone
Rocks have many colours that blend together and there are no true blacks. We are going to use a series of Fractal fills and transparencies to mimic this.
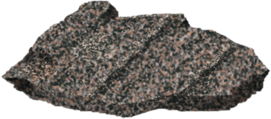
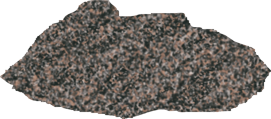
 To begin create a basic stone shape, and give it a Fractal plasma fill. I have used a dark blue grey and a very light pale orange. Throughout this tutorial I will provide colour swatches that you can use to pick colours from.
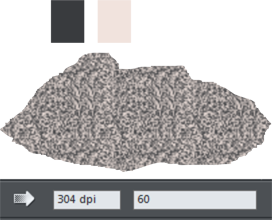
Click the horizontal fill handle and set the Fractal fill at 300dpi and set the graininess at 60.
You will notice there is some repeating showing in the fill, this is our base layer this repeating will become less and less with each layer we add.
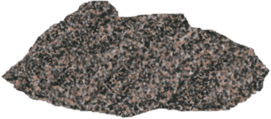
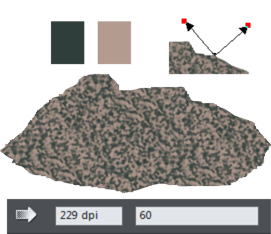 Clone (Ctrl+K) the base shape and change the colours of the fill, and adjust the fill handles as shown. Increase the size of the Fractal fill by either the fill handles or simply type a smaller number in the dpi field. Click the Profile arrow button on the Info Bar to open the Profile dialogue, and set the bottom slider to the left just a bit, this will slightly sharpen the fill.
Now we have just covered up our base layer and this still doesn’t look much like stone… yet.
Make sure the top layer is selected and apply a fractal plasma transparency
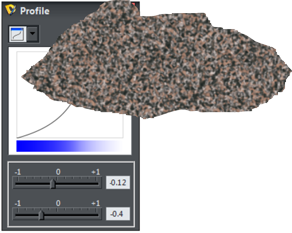 Adjust the size and angle of the transparency as you like, and click the Profile arrow button to open the Profile dialogue. Set both sliders to the left a bit.
By experimenting with the profiles and the fill handles on both the fill and the transparency you can control the roughness and colour of your stone. You can add more layers with different fill colours to create some very complex stone textures, but we aren’t done yet!
Clone (Ctrl+K) the top layer and change the fill to flat and adjust and skew the transparency to create a diagonal-looking stripe effect. Now group this layer with itself and apply a Fractal transparency again and adjust the angle, size and profiles as you like.
 The stone is taking shape but before we proceed to adding shading and highlights you will notice if you look at the stone in previous steps, the edges are a little too sharp. Open the Feathering Control bar if it is not already open. To soften the edges up a bit, select all the layers and give it about 1.5pt of feathering and adjust the Profile the feathering just slightly, this will remove the jagged sharpness yet still retain the rough stone look.
 For this next step ALt +Click to drill down to select the bottom base shape (or use the Page and Layer gallery) Once you have the bottom shape selected clone it. Change the fill to flat and the colour to black. Use either the Shape Editor tool or the Freehand tool to draw shading shapes and slice them out.
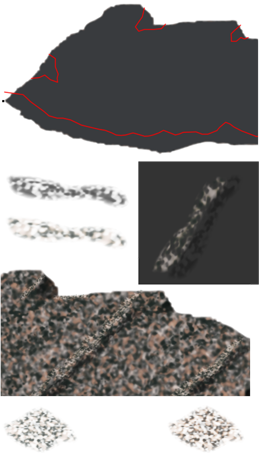
Apply Linear transparencies to the shapes to give some shading to the rock.
Next draw some blobby shapes and use the same methods to give them a Fractal fill and a Fractal transparency. Create light and dark shapes and feather them. Layer these shapes to build up raised areas on the rock.
Larger shapes like these with varying colours can be used to provide more texture and give the illusion on areas of different kinds of stone within the same rock.
I find that with this technique like in real life no two stones will come out the same (unless you clone them!)
By now I hope you are seeing how layering fractals can be used to create a variety of materials by adjusting the fill and transparency handles of each layer, but… guess what? There is more! Now I’m going to throw some more transparency types into the mix!