Creating Textured Extrusions with Displacement Maps
We have all I’m sure at one time or another done basic extrusions Xara, but in this tutorial I’m going show how, with a little bit of extra work, you can change a basic effect into a 3D-looking element fit for the center stage of your artwork. When you take an object that’s been extruded in Xara and convert it to an editable shape, you get a vector shape with a bitmap fill. And that bitmap fill can be used to your advantage to produce a 3D look, a bitmap effect, that mimics the look produced by a true 3D mesh created in a 3D drawing program.
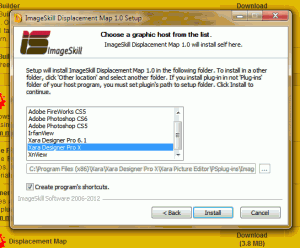
 Before we start you will need to download a texture I created for this tutorial, purple_agate.zip, and you’ll need to install a free displacement filter plug in from Image Skill software. This is the same displacement map plugin used in Salut! Make a Waving flag with a Plug-in!, the August 2012 Tips and Tricks tutorial; so you may have already downloaded and installed this plugin if you followed that tutorial.


